Introduction
Hyundai is a well-known brand that produces reliable and high-quality vehicles. Like any other car, Hyundai vehicles require regular maintenance to ensure their longevity and performance. One essential aspect of vehicle maintenance is changing the transmission fluid regularly. In this article, we will discuss the importance of Hyundai transmission fluid change and provide a step-by-step guide on how to change it.
Why Change Transmission Fluid Regularly?
A car’s transmission system is responsible for transferring power from the engine to the wheels. The transmission fluid helps lubricate the transmission parts, cools them down, and provides hydraulic pressure to keep the gears shifting smoothly. However, over time, the transmission fluid gets contaminated with debris, dirt, and metal shavings from the gears, which can cause damage to the transmission. That’s why it’s crucial to replace the transmission fluid regularly to prevent wear and tear on the parts and ensure the system’s proper functioning.
When to Change Hyundai Transmission Fluid?
Hyundai recommends changing the transmission fluid every 60,000 miles or 72 months, whichever comes first. However, if you frequently drive in heavy traffic, hot weather, or towing conditions, you may need to replace the transmission fluid more often. It’s also advisable to check the fluid level regularly to detect any leaks or low levels, which can cause serious damage to the transmission.
Step-by-Step Guide to Change Hyundai Transmission Fluid
Gather the Required Tools and Equipment
To change the transmission fluid in your Hyundai, you’ll need the following tools and equipment:
A drain pan
A socket wrench set
A funnel
A new transmission filter
A new transmission gasket
Hyundai-approved ATF (Automatic Transmission Fluid)
Locate the Transmission Pan
The transmission pan is located underneath the car, behind the engine’s oil pan. You may need to lift the car using jack stands or a hydraulic lift to access the transmission pan.
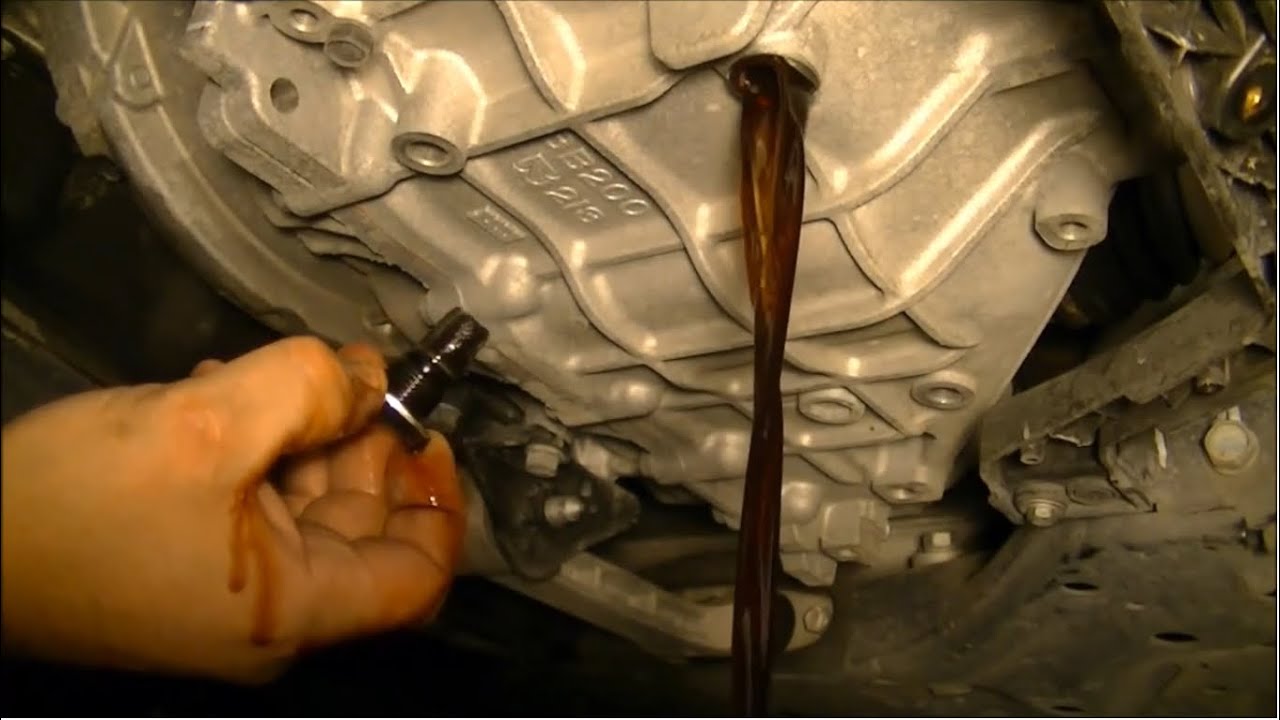
Drain the Old Fluid
Place the drain pan underneath the transmission pan and use a socket wrench set to remove the bolts holding the pan in place. Once the pan is loose, carefully lower it down and let the old fluid drain into the drain pan. You may need to tilt the pan slightly to get all the fluid out.
Replace the Transmission Filter
Once you’ve removed the pan, you’ll see the transmission filter attached to the valve body. Remove the old filter and replace it with a new one. Make sure to clean any debris or gasket material from the valve body before installing the new filter.
Replace the Gasket
Remove the old gasket from the transmission pan and replace it with a new one. Make sure to align the bolt holes correctly before tightening the bolts.
Refill with New Fluid
Using a funnel, refill the transmission with Hyundai-approved ATF until it reaches the recommended level on the dipstick. Start the engine and let it run for a few minutes to circulate the new fluid throughout the system.
Check for Leaks
Turn off the engine and check for any leaks around the pan or drain plug. Tighten any loose bolts or connections if necessary.
Conclusion
Regularly changing the transmission fluid in your Hyundai is essential to ensure its longevity and performance. By following these simple steps, you can change the transmission fluid yourself and save money on expensive mechanic fees. Remember to always use Hyundai-approved ATF and follow the recommended maintenance schedule to keep your car running smoothly and efficiently.